

Create simple online forms with this easy-to-use web application. The data that is submitted can be viewed online or imported into Excel. The user-friendly interface lets you build, update, duplicate and delete forms, as well as view, manage, export, sort and delete individual entries.
Get Started
Request access
In order to build forms and collect data, you must request access.
- Go to the ITS Help Desk online service portal.
- Click Help & Support and fill out the form, requesting access to Forms @ ODU.
Build a form
Building forms with the ODU forms tool is as easy as drag and drop.
Share your form
Make your form available to the world in one of two ways:
- Share a link to the form.
- Embed the form on an ODU web page.
Manage Forms
Whenever you log in to forms.odu.edu, you'll see a list of all of your forms. From this page, you can manage several form features:
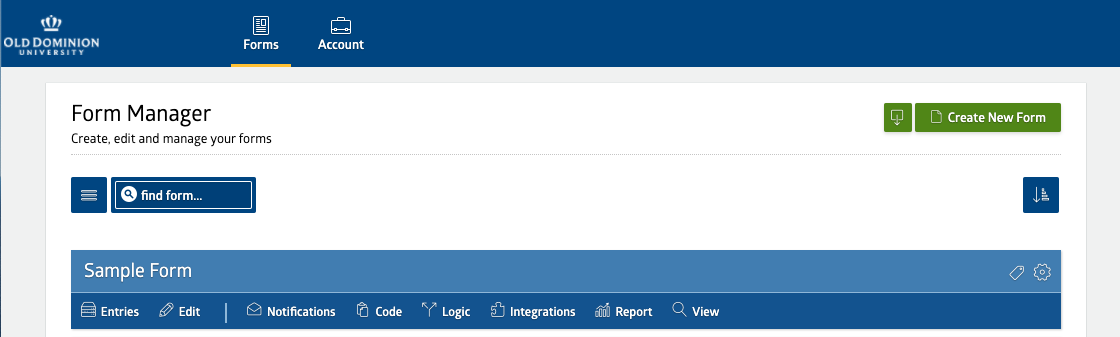
- Entries: View the data from all submitted forms.
- Edit: Open the form builder to rearrange fields or edit text.
- Notifications: Determine where submissions will be sent, either to an email address or an external website. (This is optional. All data is automatically stored within the forms tool and can be viewed under Entries.)
- Logic: Create conditional logic so that certain questions are presented to the user depending on answers to other questions. (More information in Advanced Features below.)
- Report: Build reports to display the data you collect.
- View: View your form.
Advanced Features
Add other users to your form
As a form editor, you have the ability to create and edit forms, edit form submissions and view and download form entries. You can share some or all of these responsibilities with other users of ODU's forms tool.
Create forms that require MIDAS authentication
You can create forms that are only available to people affiliated with ODU. And you can limit access even further by making the form available to students, faculty, staff - or any combination thereof.
Set up form logic
Use logic to set up "if-then" conditions in your forms. You can show certain fields or skip entire pages depending on how the user answers certain questions.
Set up approval workflows
Create forms that require supervisors, budget unit directors, directors or chairs to approve before final submission.
You must have access to a form before you can create a workflow for it. If you did not create the form, the form owner must add you as an editor before you can manage workflows (see above).
Collecting sensitive data
The forms you create can be used to collect PII and sensitive data for university needs (information that should never be sent through email). The information you collect is then securely stored and available for further processing.
Best Practices
Naming convention
When naming your form, include your department's prefix at the beginning of the title. For example, a form that ITS uses to grant access to a particular service might be called "ITS Particular Service Request." Here are common department prefixes:
- FinAid: Office of Student Financial Aid
- ITS: Information Technology Services
- OEA: Office of Educational Accessibility
- Registrar: Office of University Registrar
Tags
Tags allow you to organize your forms and filter them for easing viewing. Assign specific tag names to each form, based on their categories or functionalities or anything you feel easy to recognize. Use tags to indicate specific academic terms if they are relevent to your form (Example: Fall 2020). Or use tags for a particluar function (Example: Direct Deposit or Letter Request). We recommend the following common tags:
- # Form: xxxxx
Include your form number in a tag to make it searchable. (Example: # Form: 56664) - PII
Use this tag if you collect any personally identifiable information in the form. Most forms, if they include a name, contain PII. - Sensitive Data
Use this tag if you collect social security numbers, birth dates, bank account numbers, etc. - Department Name
In addition to your department's prefix in the title (see naming convention above), tag each form with your department name. Be consistent and use the same spelling every time. (Once you start typing a tag name, you'll see other tags that have been used before.)